This report published on Tuesday, November 12, 2024 6:23:27 PM PST
This report is the exclusive property of this inspection company and the client(s) listed in the report title. Use of this report by any unauthorized persons is prohibited.
Concerns are shown and sorted according to these types:
Repair Recommended
Item was not functioning as designed or intended. Correction should be performed, and may require a professional, specialist, or other knowledgeable person.
Maintenance Reminder
Recommend routine attention and maintenance to keep item in proper working condition.
Investigate Further
Recommend additional investigation, research, or review by a specialist and/or client
Informational Comment
Report comment included for your information and consideration.
General Information
1) To view the summary. Click on the link in the upper left hand corner or under table contents.
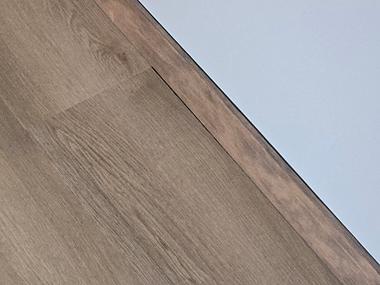
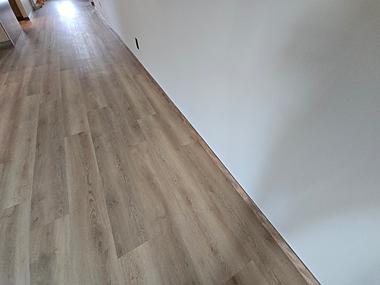
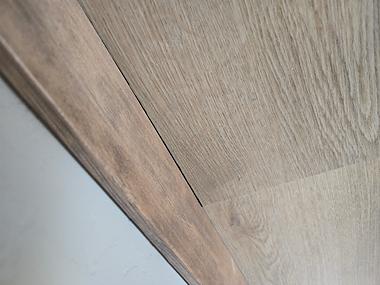
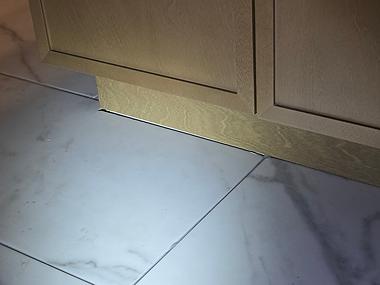
2) General pictures, minor Knicks, blue tape items and general clean up are provided below as a courtesy but are not the focus of a home inspection. These are aesthetic in nature and are typically covered in a walk through with the builder.
The client should be aware that a break-in period occurs during the first year or two after a building is constructed. Some amount of settlement and shrinkage is inevitable as temperature and humidity varies during the seasons. Systems may need adjustment or repair after experiencing constant, prolonged and/or heavy usage. Overall performance of the building exterior has not yet been tested by a wide variety of weather conditions.
Also, it is beyond the scope of this inspection to determine if all permits have been approved or signed off. Consult with the builder and/or municipality to determine if all necessary permits have been approved.
Photo 2-1 Photo 2-2
Photo 2-3 Photo 2-4
Photo 2-5 Photo 2-6
Photo 2-7 Photo 2-8
Photo 2-9 Photo 2-10
Photo 2-11 Photo 2-12
Photo 2-13 Photo 2-14
Photo 2-15 Photo 2-16
Photo 2-17 Photo 2-18
Photo 2-19 Photo 2-20
Grounds
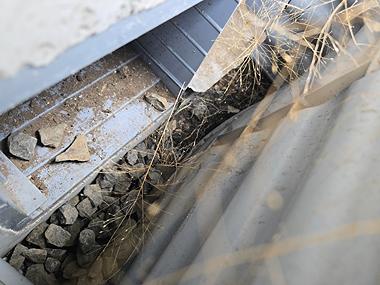
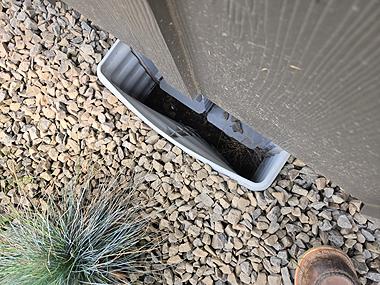
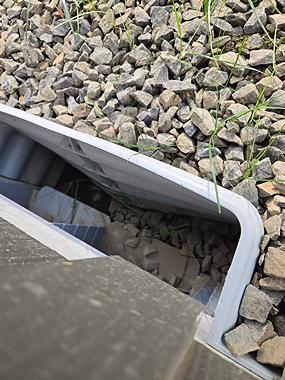
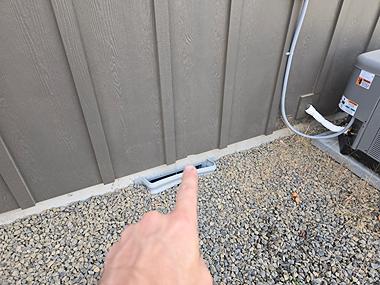
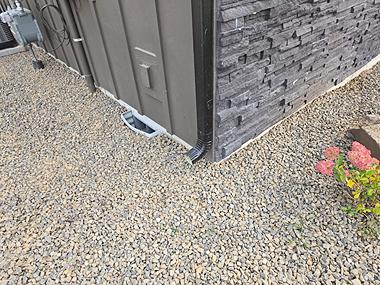
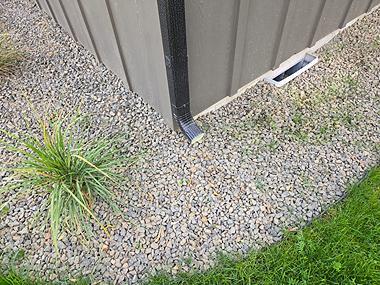
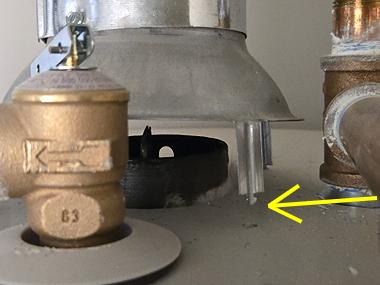
3) Vent wells appeared to be compromised, refer to builder for repair.
Photo 3-1 Photo 3-2
Photo 3-3 Photo 3-4
Exterior and Foundation
5) Some sections of siding and/or trim were damaged. Recommend that a qualified person repair, replace or install siding or trim as necessary.
Photo 5-1 Photo 5-2
Photo 5-3 Photo 5-4
Photo 5-5 Photo 5-6
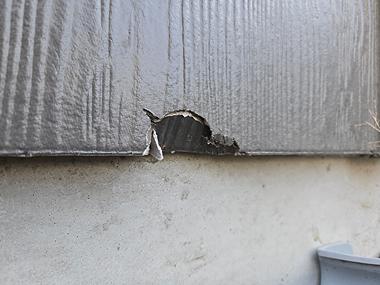
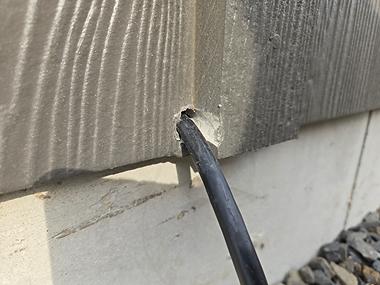
6) Holes or gaps were found in siding or trim. Vermin, insects or water may enter the structure. Recommend that a qualified person repair as necessary.
Photo 6-1 Photo 6-2
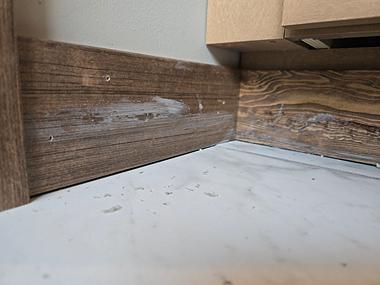
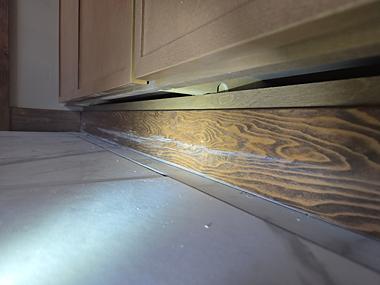
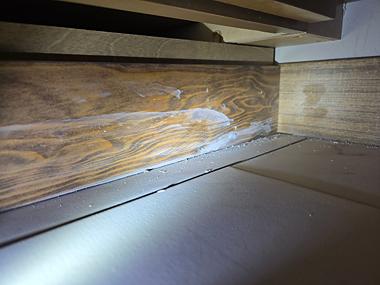
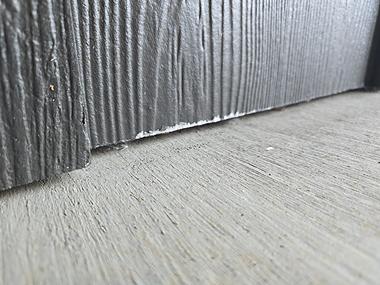
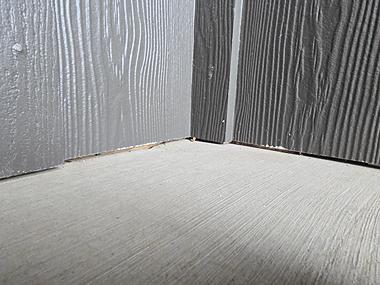
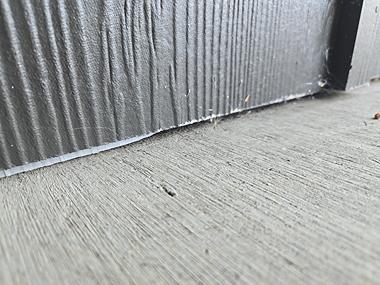
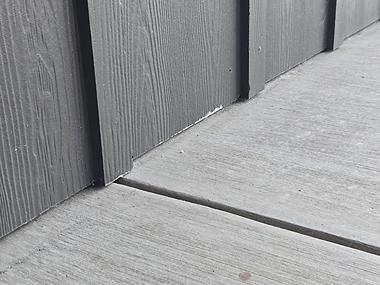
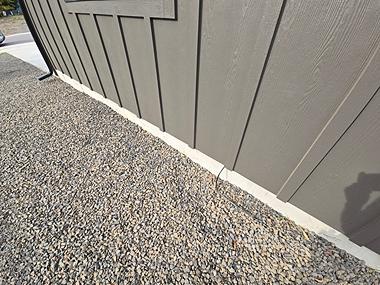
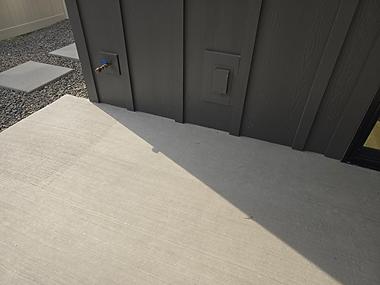
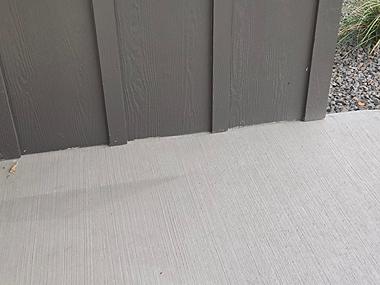
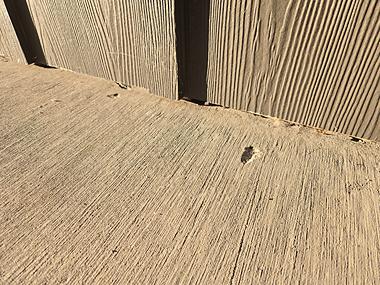
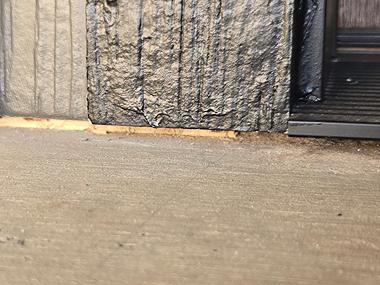
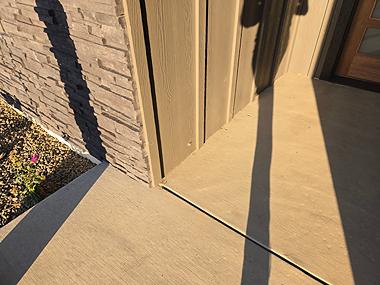
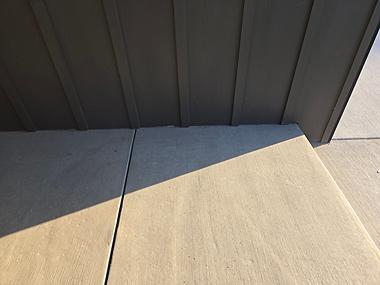
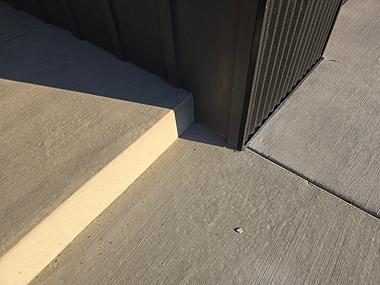
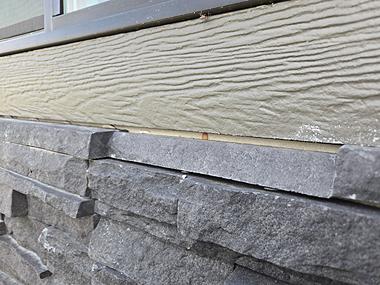
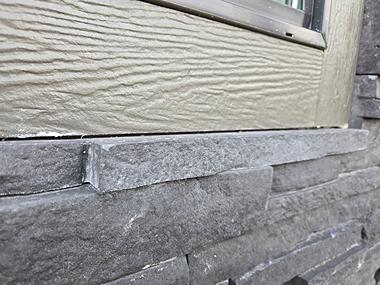
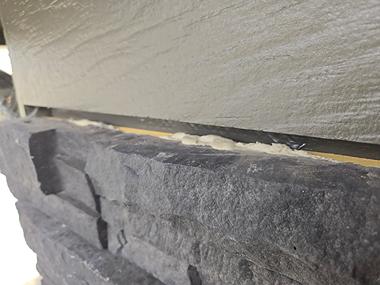
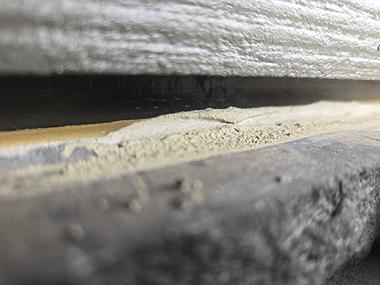
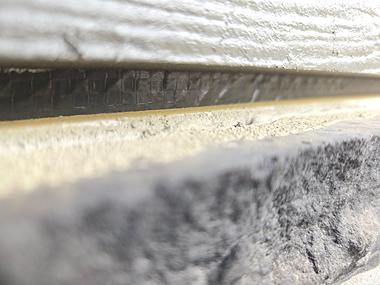
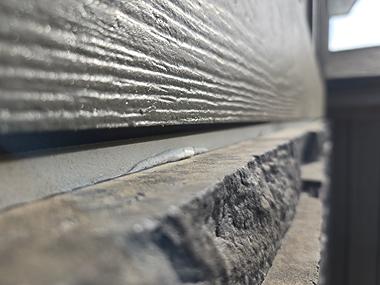
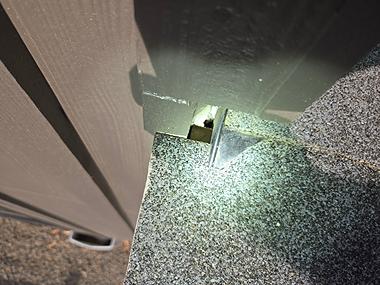
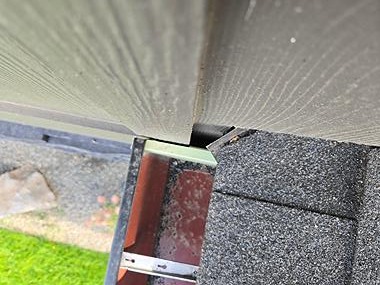
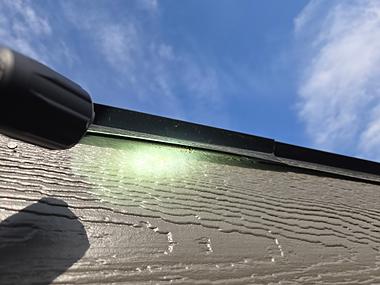
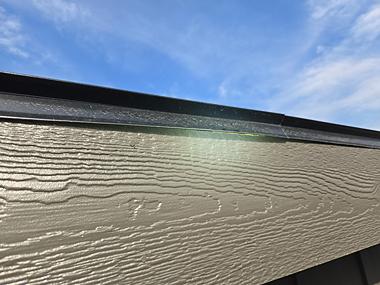
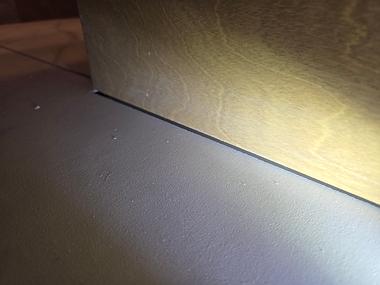
7) Clearances between the cement fiber siding and surfaces below were too small. Moisture may penetrate and damage the siding as a result, sheeting can wick up moisture and the manufacturer's warranty may be voided. Normally, minimum clearances below the bottom of cement fiber siding and trim include:
6 inches to the finished grade below
2 inches to paths, steps, driveways or deck surfaces below
2 inches to roof surfaces below
1/4 inch to horizontal flashing below, with no caulk applied
Recommend that a qualified contractor repair per the siding/trim manufacturer's specifications. For more information, visit: http://www.reporthost.com/?HARDIPLANK
Photo 7-1 Photo 7-2
Photo 7-3 Photo 7-4
Photo 7-5 Photo 7-6
Photo 7-7
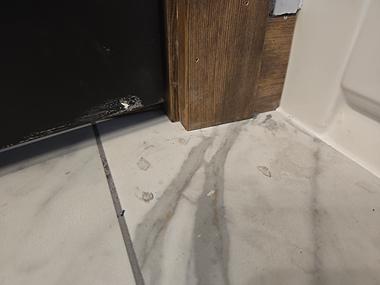
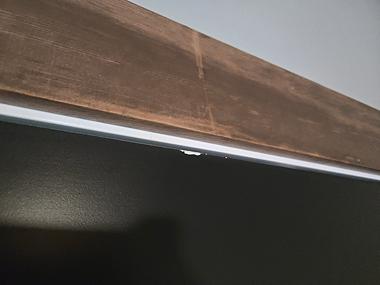
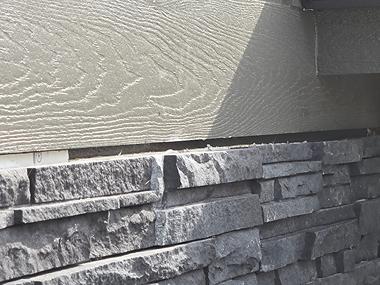
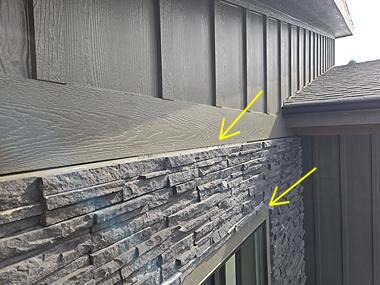
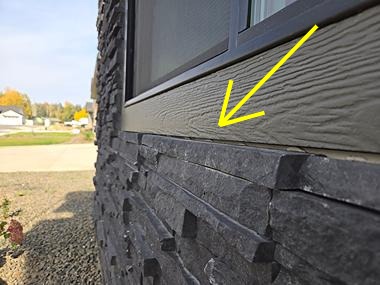
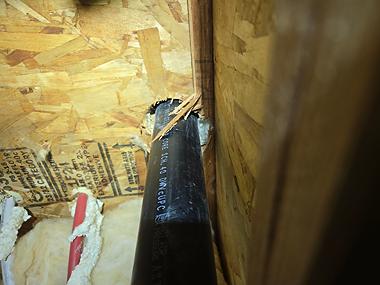
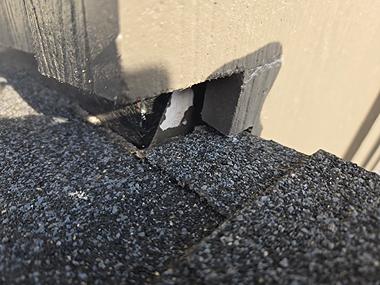
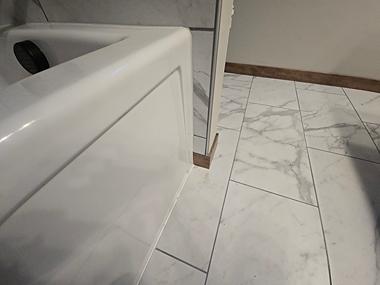
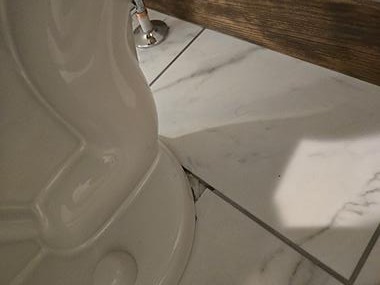
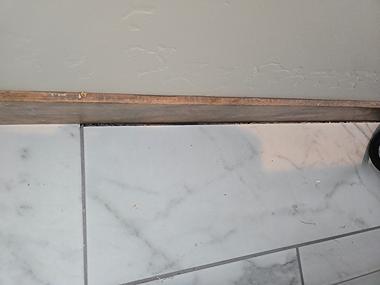
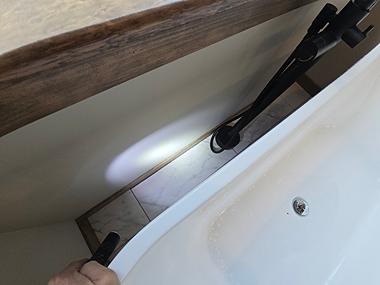
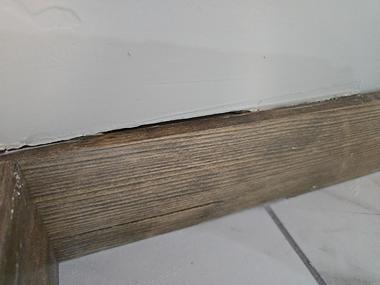
8) Areas where wood siding or trim was installed above stone or masonry had no flashing below the wood. Flashing should be installed between masonry or stone and wood trim or siding above to keep water from accumulating at that gap. Without the flashing, the wood trim, siding, or the sheeting behind is prone to fungal rot and deterioration. Recommend that a qualified contractor install flashing where missing and per standard building practices.
Photo 8-1 Photo 8-2
Photo 8-3 Photo 8-4
Photo 8-5 Photo 8-6
Photo 8-7 Photo 8-8
Photo 8-9
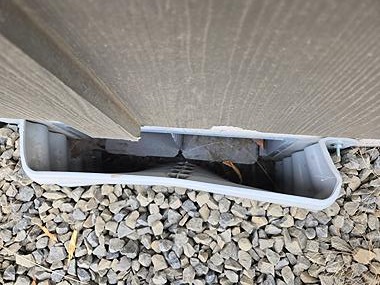
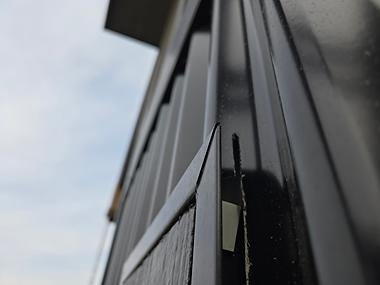
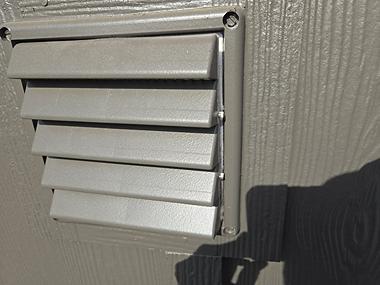
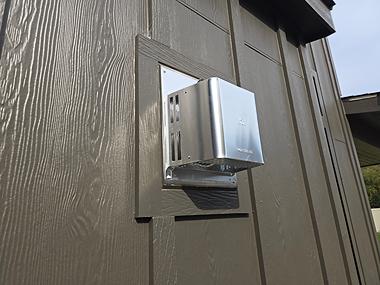
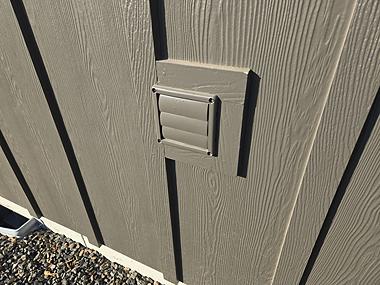
9) Exhaust duct end caps were loose and didn't appear to fit in slots. Their purpose is to prevent unconditioned air from entering the building, and keep out birds, rodents and bugs. Blocked ducts can cause fan motors and/or clothes dryers to overheat and can pose a fire hazard. Recommend that a qualified person repair or replace caps as necessary.
Photo 9-1
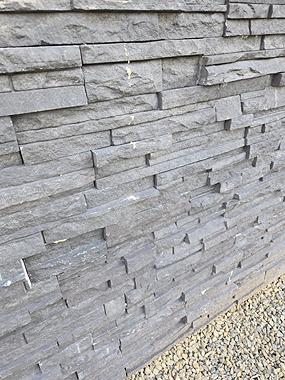
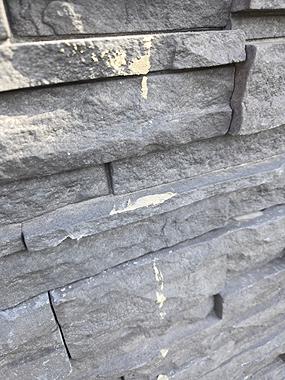
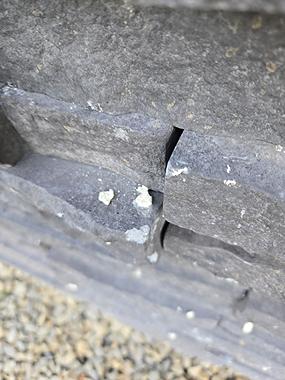
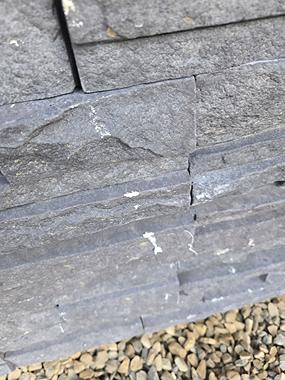
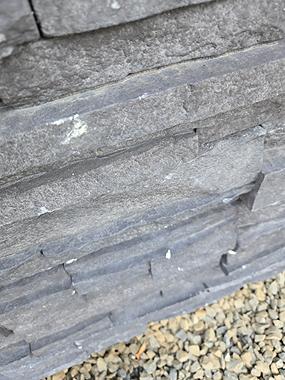
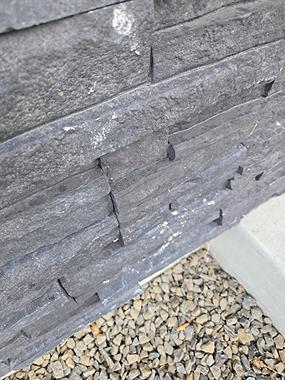
10) Exterior brick veneer had a significant amount of mortar and blemished areas, refer to builder for options.
Photo 10-1 Photo 10-2
Photo 10-3 Photo 10-4
Photo 10-5 Photo 10-6
Crawl Space
13) One engineered joist under master bathroom was notched in such a way as to weaken the joist(s). Limitations on modifying joists in the field vary depending on the manufacturer, but general guidelines often include these restrictions:
Top and bottom flanges should never be cut, drilled or notched.
The maximum-sized hole cut into the web should not exceed the distance between the flanges minus 1/4 inch.
The longest side of a rectangular hole should not exceed 3/4 of the maximum-sized hole allowed.
Holes should not be cut closer than 1/8 inch to either flange.
No more than three maximum-sized holes are allowed per span.
For multiple holes, the distance between adjacent hole edges must exceed twice the diameter of the largest round hole or twice the length of the longest side of any rectangular hole.
Ideally, holes should be centered on the middle of the web.
Ideally, rectangular holes should have rounded corners.
Recommend that a qualified contractor evaluate and repair as necessary, and per the joist manufacturer's specifications. Note that the inspector cannot determine if modifications to engineered joists comply with the manufacturer's specifications.
Photo 13-1 Photo 13-2
Roof
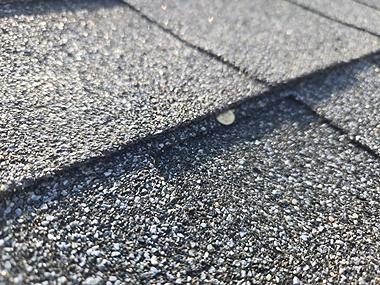
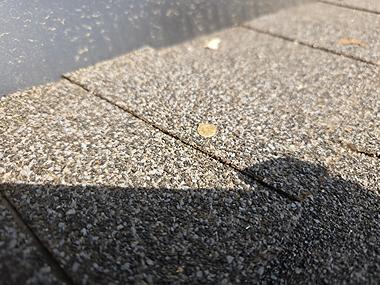
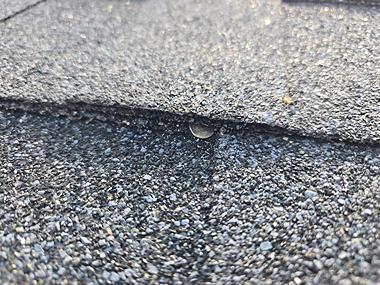
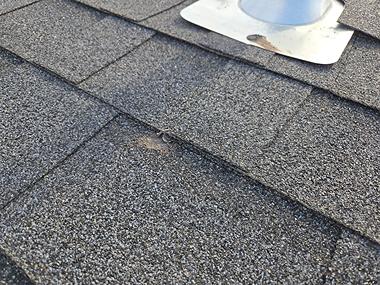
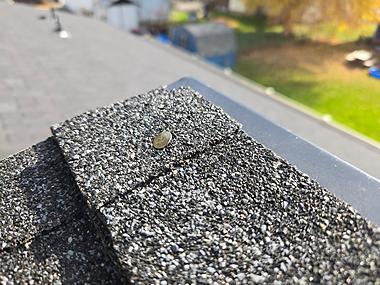
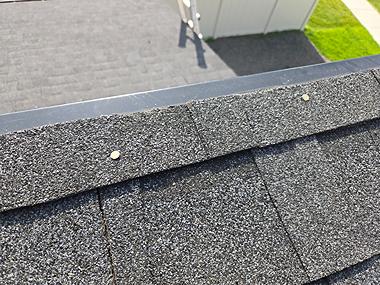
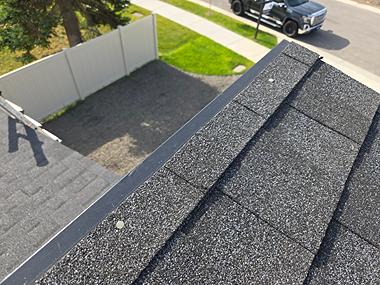
15) Nail heads were exposed at several shingles. Recommend applying an approved sealant over exposed nail heads now and as necessary in the future to prevent leaks.
Photo 15-1 Photo 15-2
Photo 15-3 Photo 15-4
Photo 15-5 Photo 15-6
Photo 15-7 Photo 15-8
Photo 15-9 Photo 15-10
Photo 15-11 Photo 15-12
Photo 15-13 Photo 15-14
Photo 15-15 Photo 15-16
Photo 15-17 Photo 15-18
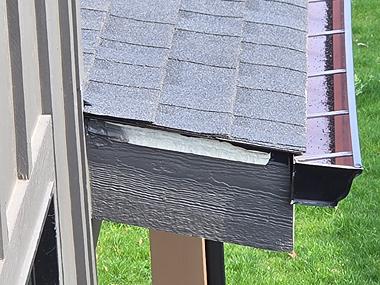
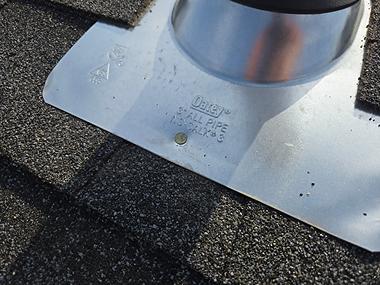
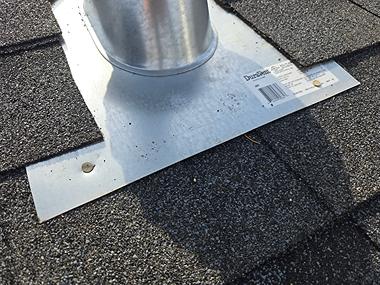
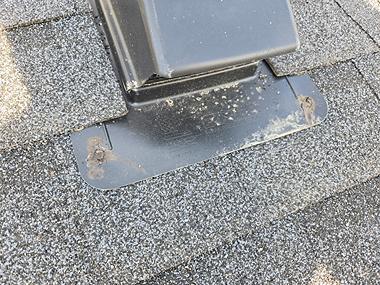
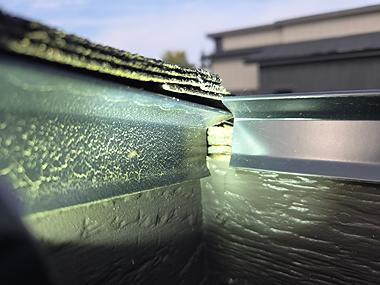
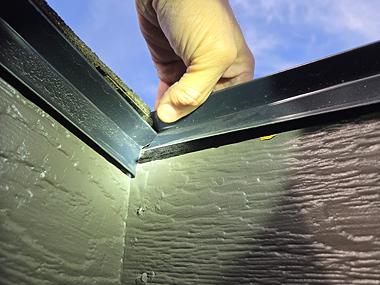
16) Flashings were substandard in various places. Flashing should go under on the high side of the roof and over on the low side of the roof. Leaks can occur as a result Recommend that a qualified person repair as necessary.
Photo 16-1 Photo 16-2
Photo 16-3 Photo 16-4
Photo 16-5 Photo 16-6
Photo 16-7 Photo 16-8
Photo 16-9 Photo 16-10
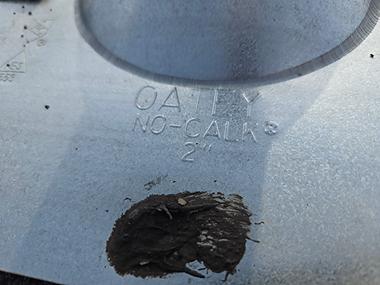
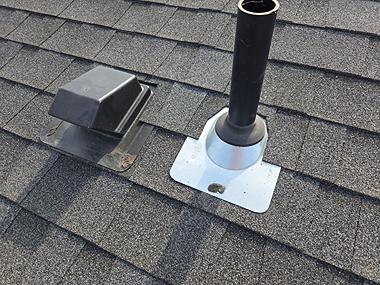
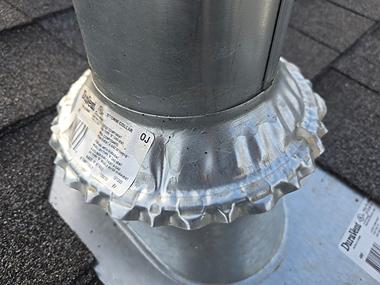
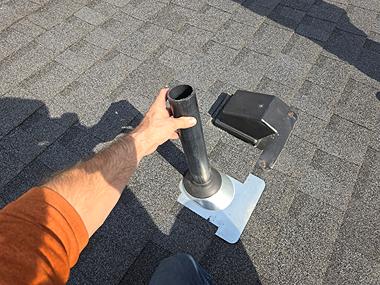
17) The rain cap for the heating b-vent needs to be sealed. Leaks can occur. Recommend that a qualified person repair as needed.
Photo 17-1
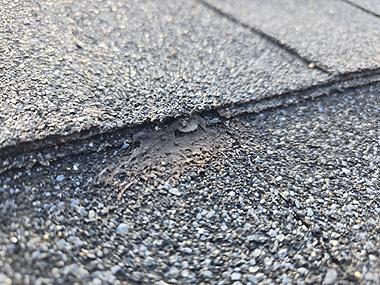
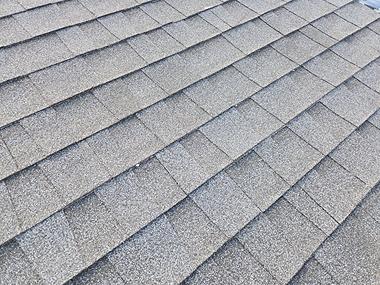
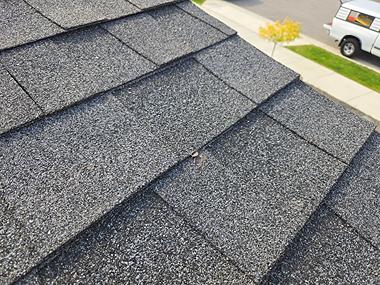
18) Composition shingles were loose because the adhesive, self-sealing strips weren't sealed. Leaks can occur as a result. Self-sealing strips secure the lower edge of shingles and reduce vulnerability to wind damage. Strips may not be sealed because the sealant has failed or because the sealant never activated and cured after the original installation. Recommend that a qualified contractor repair as necessary. For example, by hand sealing shingles with an approved sealant.
Photo 18-1 Photo 18-2
Photo 18-3 Photo 18-4
Photo 18-5
19) Extensions such as splash blocks or drain pipes for downspouts were missing. Water can accumulate around the building foundation as a result. Recommend that a qualified person install, replace or repair extensions as necessary so rainwater drains away from the structure.
Photo 19-1 Photo 19-2
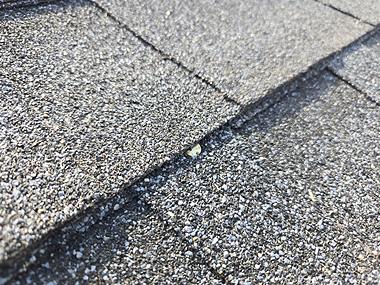
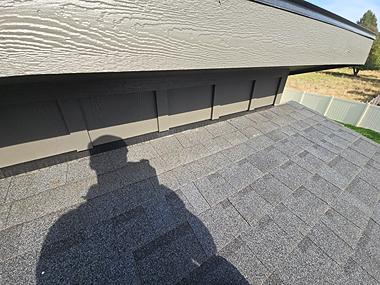
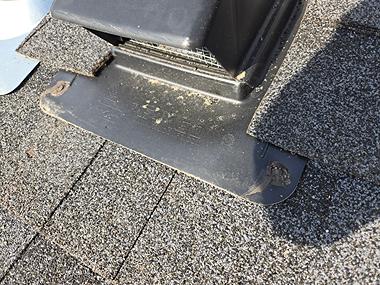
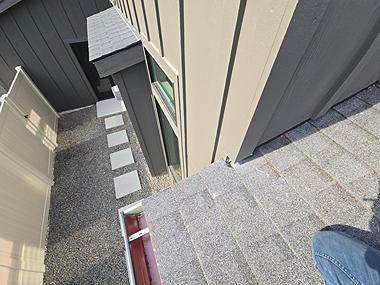
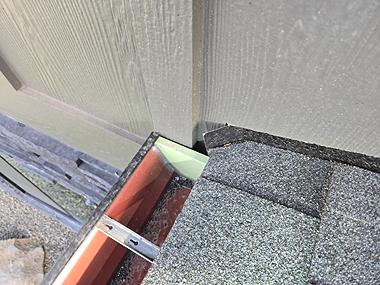
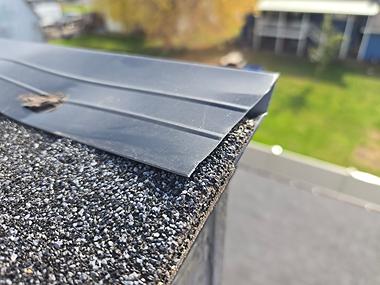
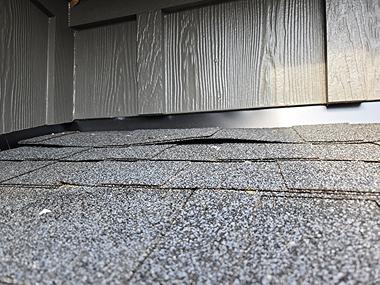
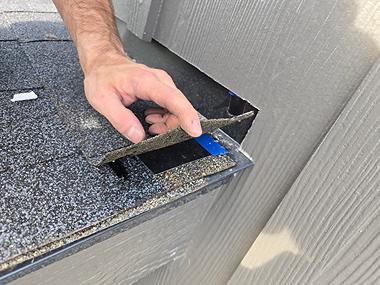
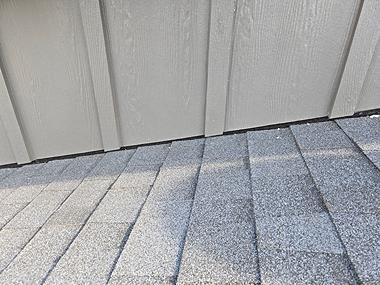
20) The siding at exterior walls was in contact with or too close to roof surfaces below. There should be a gap of 1 1/2 to 2 inches between a roof surface and siding above. The gap is meant to prevent water from wicking up into the bottom edge of the siding and causing fugal rot, or damaging the siding. There may also be inadequate space for additional layers of roofing materials in the future. Recommend that a qualified contractor repair per standard building practices. For example, by trimming the siding.
Photo 20-1
Attic and Roof Structure
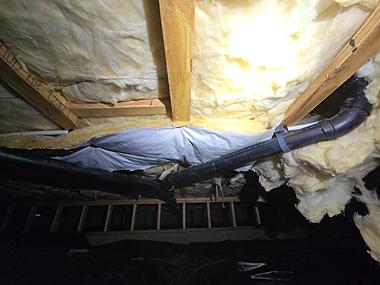
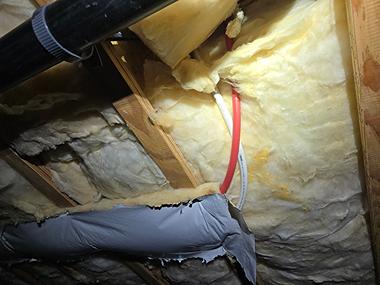
22) Insulation for the kitchen fan duct was falling down. Refer to builder for repair.
Photo 22-1
Electric
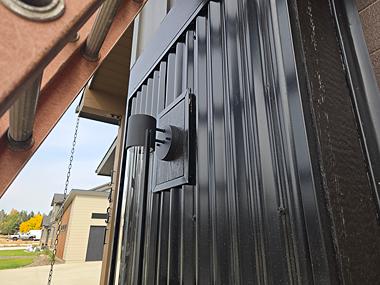
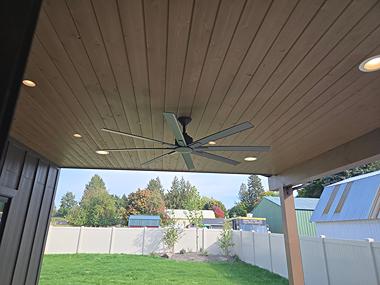
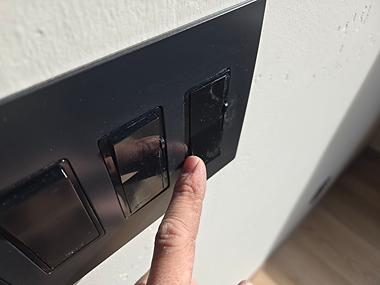
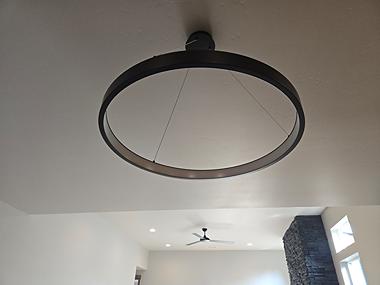
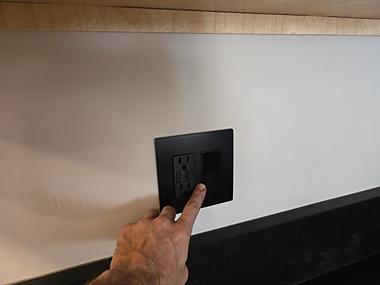
26) Exterior ceiling fan and what appeared to be a light fixture in the kitchen was inoperable (didn't turn on when nearby switches were operated). Recommend further evaluation by replacing bulbs and/or consulting with the property owner. If replacing bulbs doesn't work and/or no other switch(es) can be found, then recommend that a qualified electrician evaluate and repair or replace light fixtures as necessary.
Photo 26-1 Photo 26-2
Photo 26-3 Photo 26-4
Plumbing / Fuel Systems
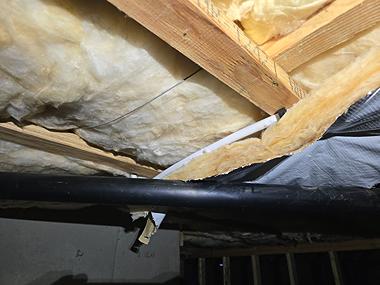
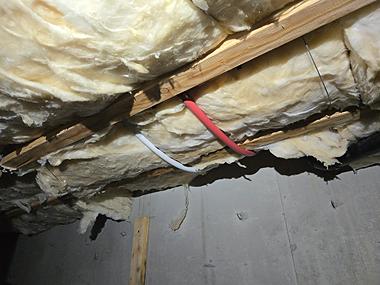
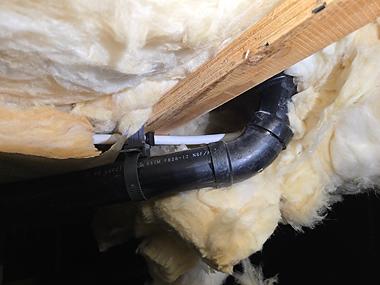
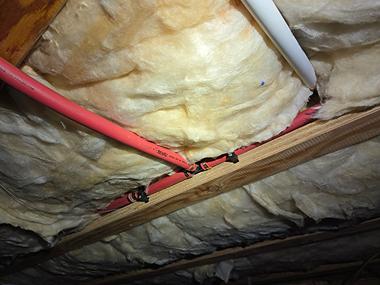
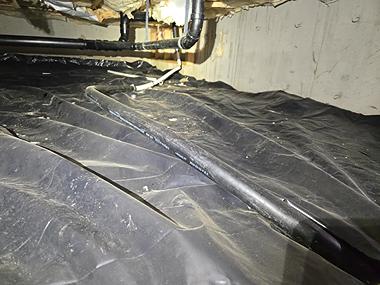
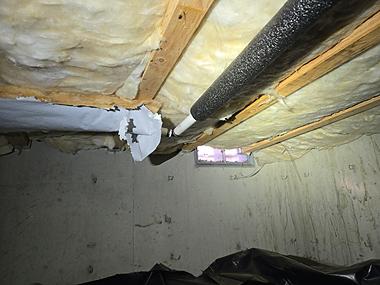
29) Insulation for some water supply pipes in the crawl space was substandard. Recommend replacing or installing insulation on pipes per standard building practices to prevent them from freezing during cold weather, and for better energy efficiency with hot water supply pipes.
Photo 29-1 Photo 29-2
Photo 29-3 Photo 29-4
Photo 29-5 Photo 29-6
Photo 29-7 Photo 29-8
Photo 29-9 Photo 29-10
30) Plumbing vent pipe above laundry room loose and freely moves up and down, refer to builder for repair.
Photo 30-1
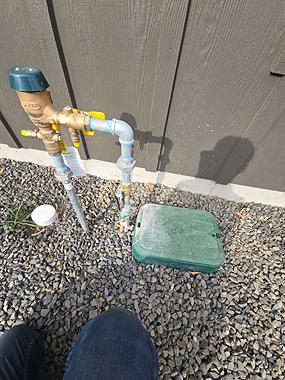
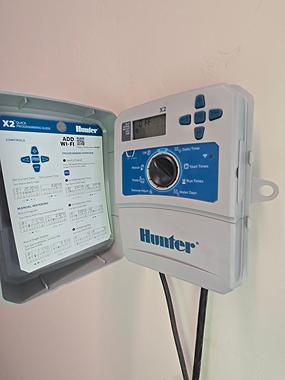
31) Recommended the system being winterized soon.
Based on visible equipment, this property appeared to have a yard irrigation (sprinkler) system. These are specialty systems and are not a part of a typical home inspection. A recent backflow test tag was not visible. Backflow tests are required annually in many municipalities in our area to prevent cross-contamination of potable water. Recommend asking builder about test and obtaining work orders if available. If no test has been performed, recommend a qualified specialist perform a backflow test.
Photo 31-1 Photo 31-2
Water Heater
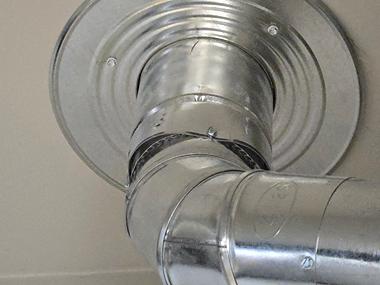
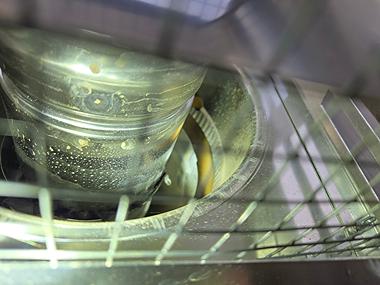
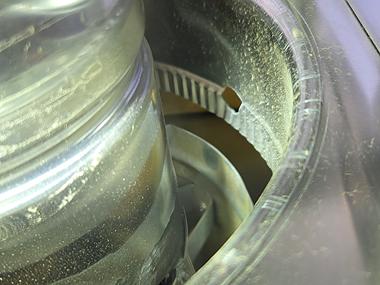
35) The draft hood for the water heater flue was loose and section above on flue appeared not fully fastened . This is a potential safety hazard due to the risk of exhaust gases entering living spaces. Refer to builder to permanently secure the draft hood and flue with appropriate fasteners per standard building practices.
Photo 35-1 Photo 35-2
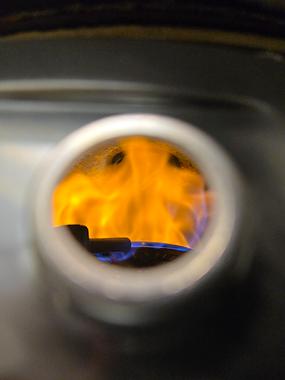
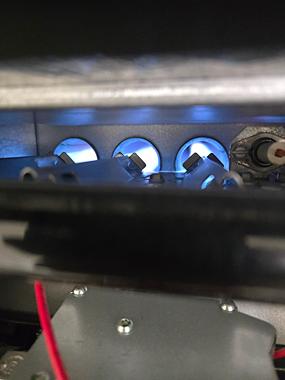
36) The water heater burner flames "popped" when burners ignited or shut down. This may be caused by gas pressure problems, dirty or defective burners, or burners out of adjustment. Recommend that a qualified contractor evaluate and repair as necessary.
The water heater burner flame was not blue in color. Various conditions can cause incorrect flames (not blue, noisy, floating) including incorrect drafting, dirty burner orifices and improper gas pressure. Refer to builder if problem persists.
Photo 36-1
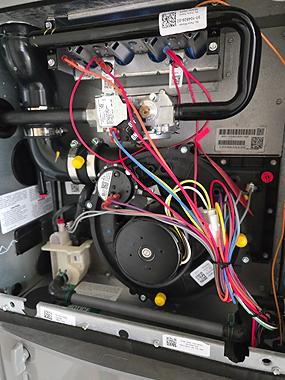
Heating, Ventilation & A/C If Applicable (HVAC)
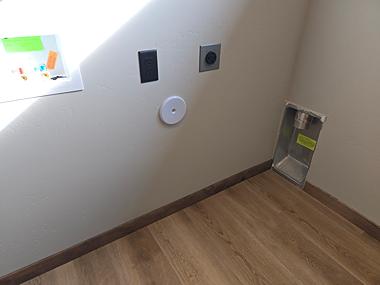
38) No serviceman's switch was visible for the furnace. This is a switch that allows power to be turned off quickly if something goes wrong when someone is performing maintenance or repairs. This is a potential safety hazard. Requirements vary by municipality, but general guidelines require the switch be within an arm's length of the appliance. In some cases the disconnect at the electric panel (e.g. circuit breaker or fuse) may suffice if it's within sight of the appliance. Recommend that a qualified contractor install a serviceman's switch per standard building practices.
Photo 38-1
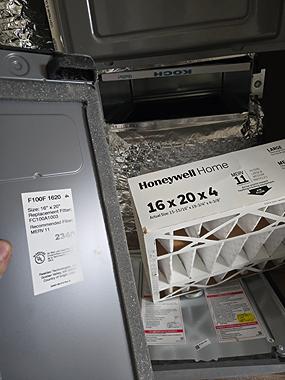
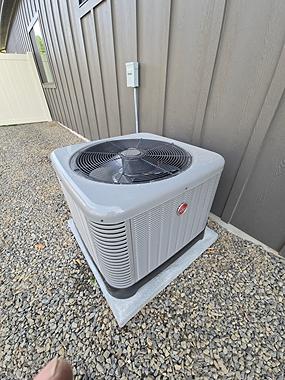
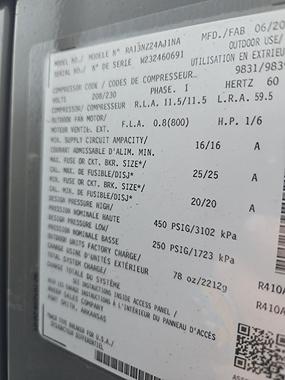
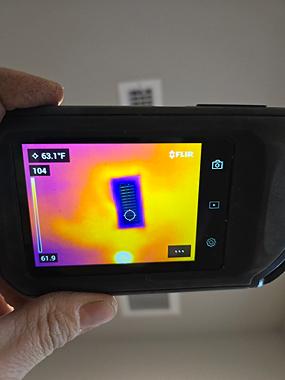
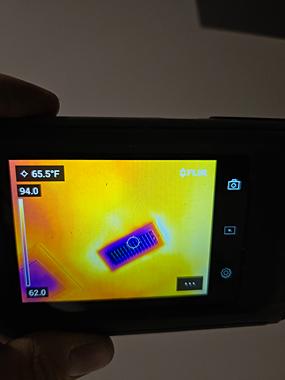
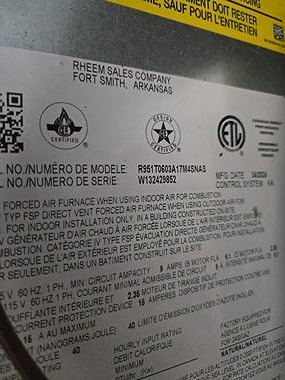
39) Furnace and A/C were functioning at time of inspection.
Units are new, recommend annual servicing in the future for warranty purposes.
The filter should be changed upon move in. How often a filter should be changed depends on environmental factors (ie pets, smoking, dust, etc) but a general rule of thumb is every 3 months. Adjust time according to observation.
Photo 39-1 Photo 39-2
Photo 39-3 Photo 39-4
Photo 39-5 Photo 39-6
Photo 39-7 Photo 39-8
Photo 39-9
Fireplaces, Stoves, Chimneys and Flues
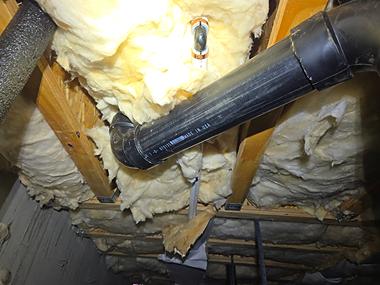
40) Flue pipe sections or connections were loose and not connected at direct vent hood for fireplace. A qualified person should repair per standard building practices.
Photo 40-1 Photo 40-2
Photo 40-3
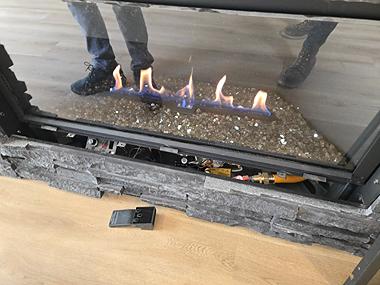
41) Gas fireplace was functional at time of inspection.
Recommend that the client review all available documentation for gas-fired fireplaces and stoves. Depending on how they are operated (for routine heating versus ambiance), such appliances may need servicing annually or every few years. Consult with the property owner and/or a qualified specialist to determine if service is needed now. Any needed repairs noted in this report should be brought to the attention of the specialist when it's serviced. For more information visit: http://www.reporthost.com/?ANGFINSP
Photo 41-1 Photo 41-2
42) The blower for the gas-fired fireplace or stove did not operate. The inspector did not determine why. This can be due to various reasons such as a switch that wasn't found, or a thermostat not reaching a high enough temperature. Consult with the property owner and review documentation for such appliances. If necessary, a qualified specialist should evaluate and repair.
Photo 42-1 Photo 42-2
Kitchen
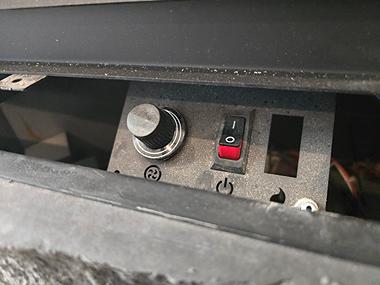
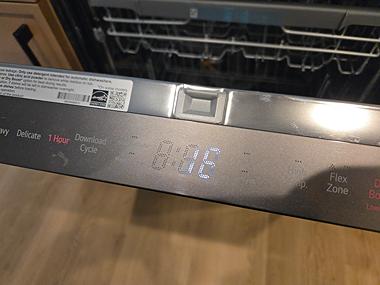
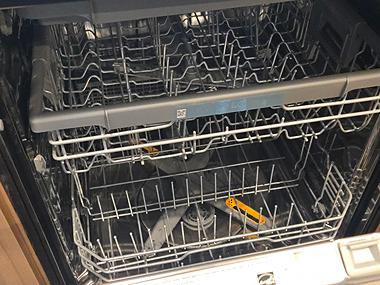
43) The dishwasher was inoperable. Recommend that a qualified specialist evaluate and repair or replace as necessary.
Photo 43-1 Photo 43-2
Photo 43-3
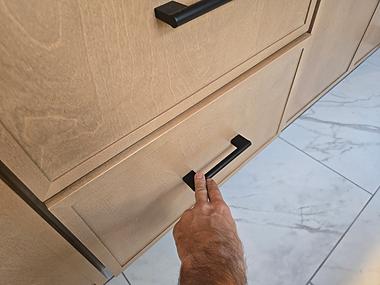
44) One master bathroom drawer was difficult to close. Refer to builder for adjustment.
Photo 44-1 Photo 44-2
Bathrooms, Laundry and Sinks
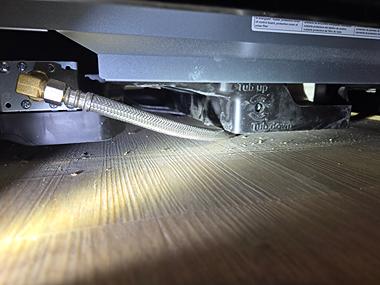
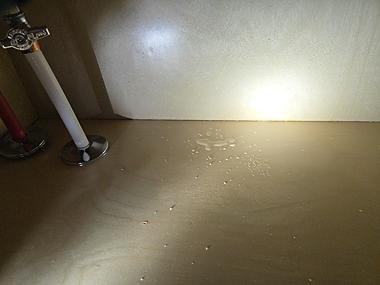
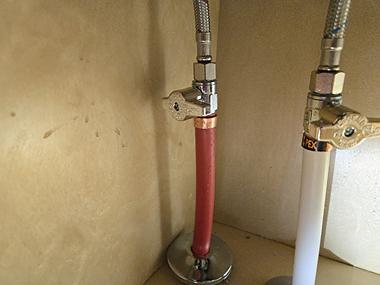
46) Leaks were found at water supply lines for the sink at location(s) #B. A qualified plumber should repair as necessary.
Photo 46-1 Photo 46-2
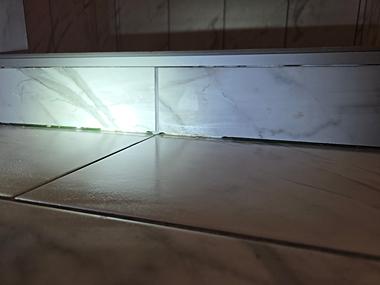
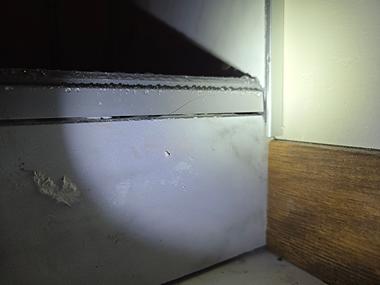
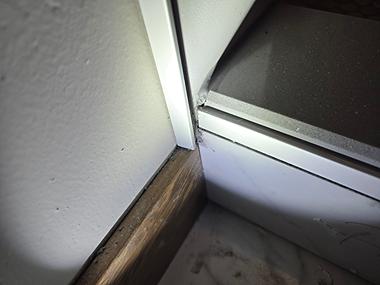
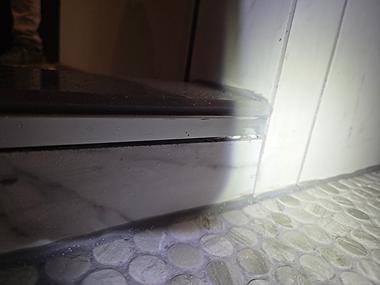
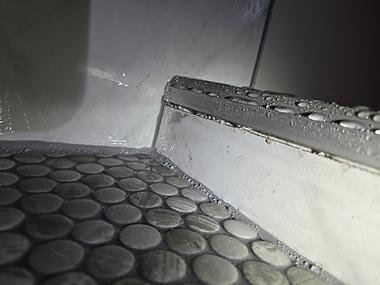
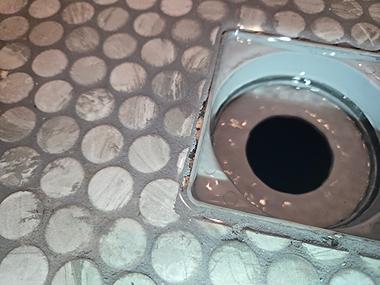
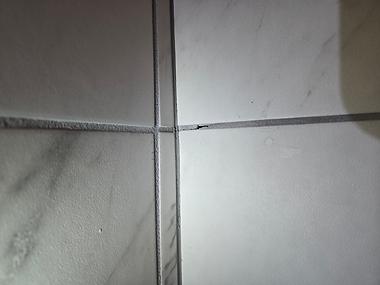
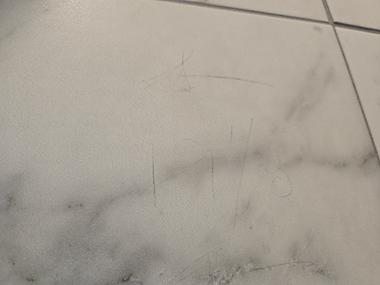
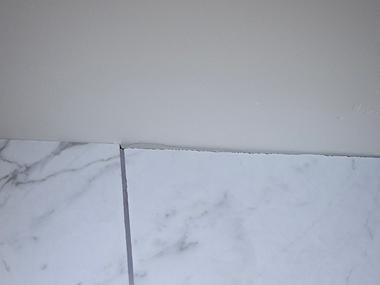
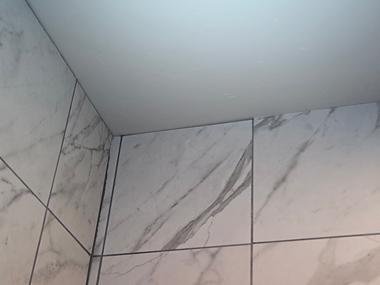
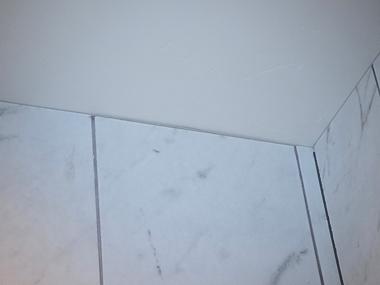
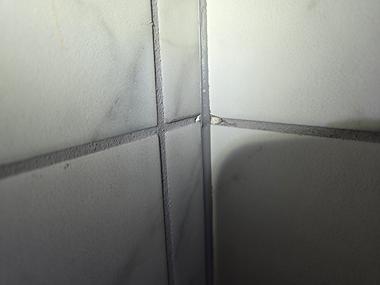
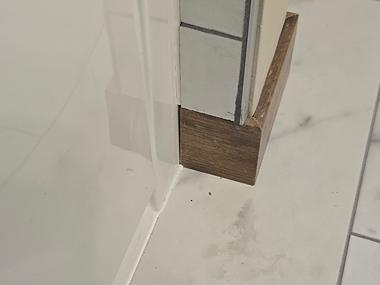
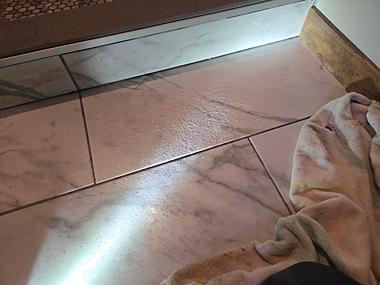
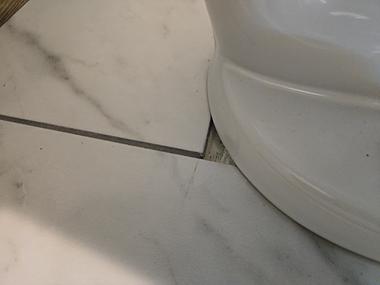
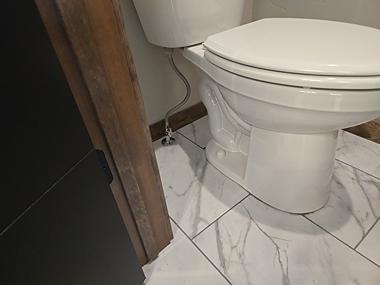
47) Gaps, no caulk, or substandard caulking were found between the shower enclosure and the floor/walls at location(s) #B/C. Water can penetrate these areas and cause damage. Recommend that a qualified person re-caulk or install caulking as necessary.
Photo 47-1 Photo 47-2
Photo 47-3 Photo 47-4
Photo 47-5 Photo 47-6
Photo 47-7 Photo 47-8
Photo 47-9 Photo 47-10
Photo 47-11 Photo 47-12
Photo 47-13 Photo 47-14
48) We recommend when first running the dryer to confirm that it is blowing to exterior by observing exterior louvres.
Photo 48-1 Photo 48-2
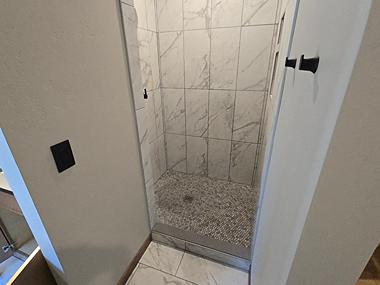
49) No shower door was installed in master bathroom, refer to builder for options.
Photo 49-1 Photo 49-2
Interior, Doors and Windows
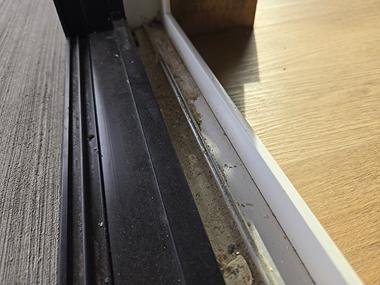
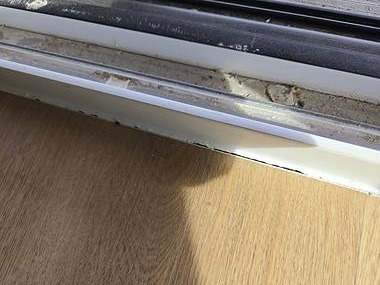
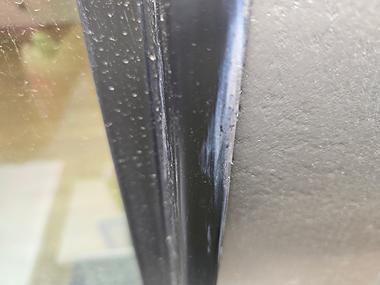
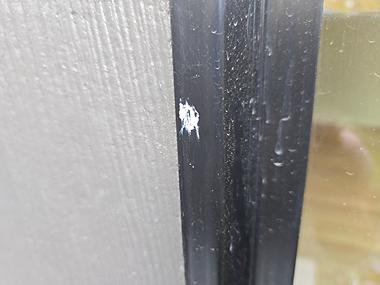
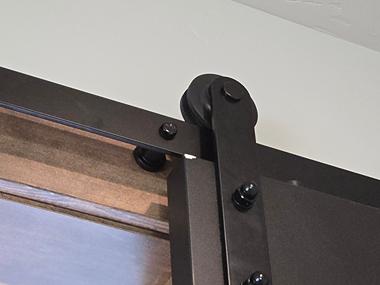
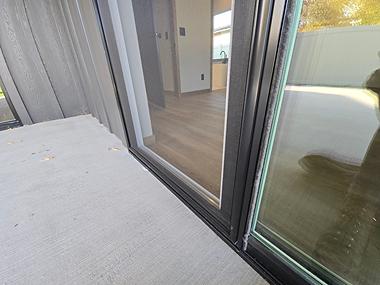
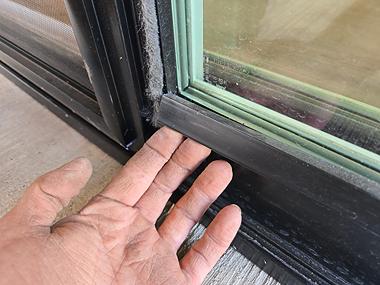
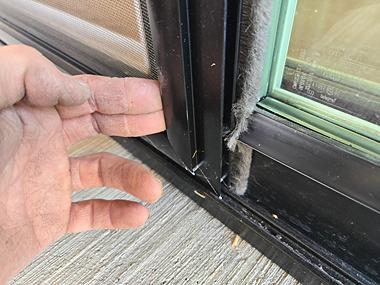
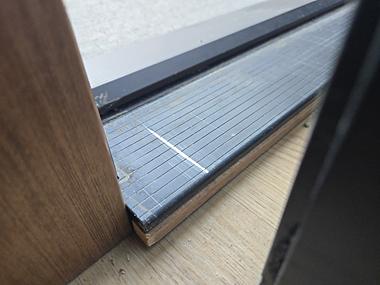
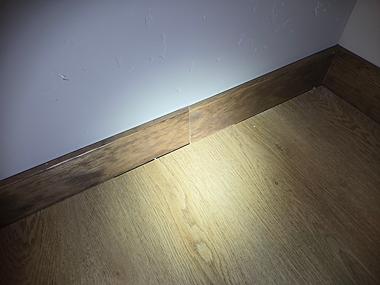
51) The sliding glass door was difficult to open or close. Trim on the door was loose and keeping slider screen closed.
Photo 51-1 Photo 51-2
Photo 51-3
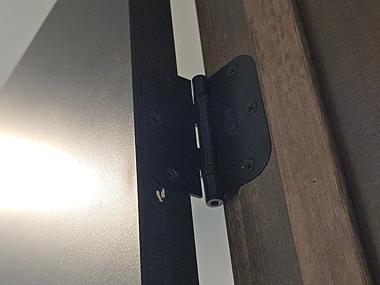
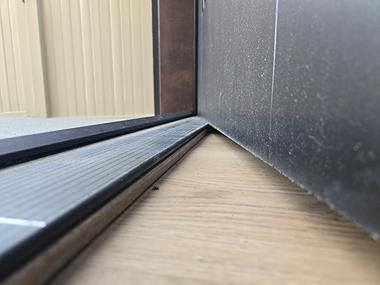
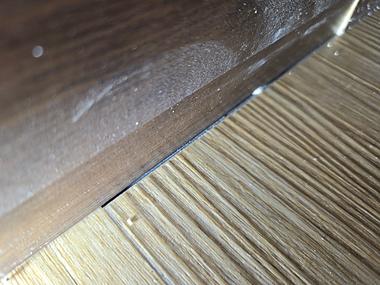
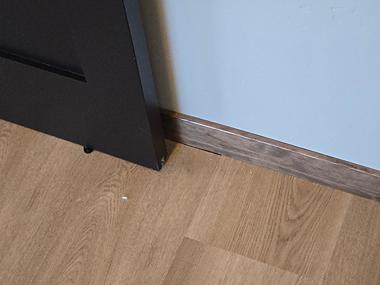
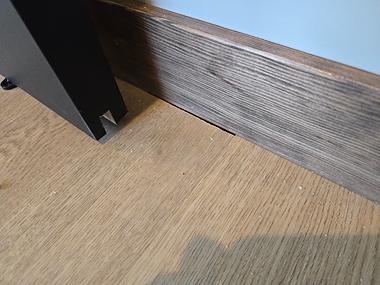
52) Staples underneath exterior door were scratching door jamb and was difficult to operate. Recommend that a qualified person repair as necessary.


 To view the summary. Click on the link in the upper left hand corner or under table contents.